Milking is an art – but one that can be learned. Every milker should know what to do and when. Each cow should be milked in exactly the same manner, regardless of who is in the parlour that day.
Good milking procedures will help keep the number of mastitis cases under control and will limit the transmission of contagious mastitis agents. But this only works if everyone follows the same standard protocol in the same calm and hygienic manner.
Each farm should have specific milking protocols and use these to train its milkers. All milkers should work exactly the same way. Milking routines may differ between farms due to a different set-up of the milking parlour.
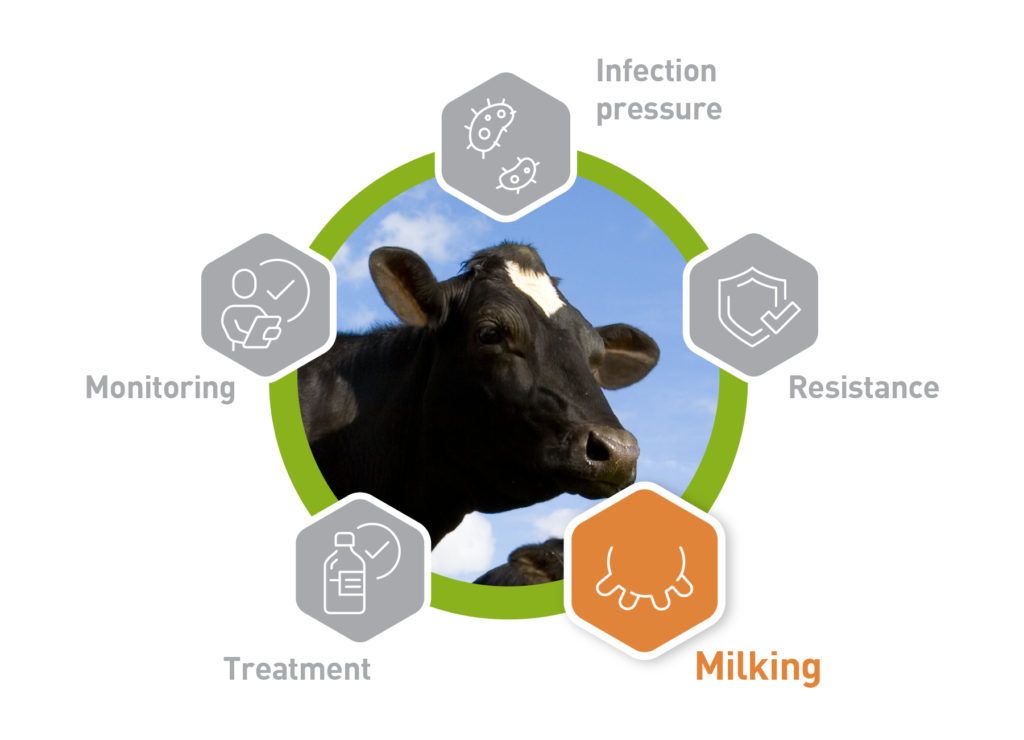
Apart from optimal hygiene, good milking routines should include:
- Optimal milk flow and the 60-second rule
- Good operating procedures for interruptions
- Good operating procedures for separation milk
- Feedback from milkers
Optimal milk flow and the 60-second rule
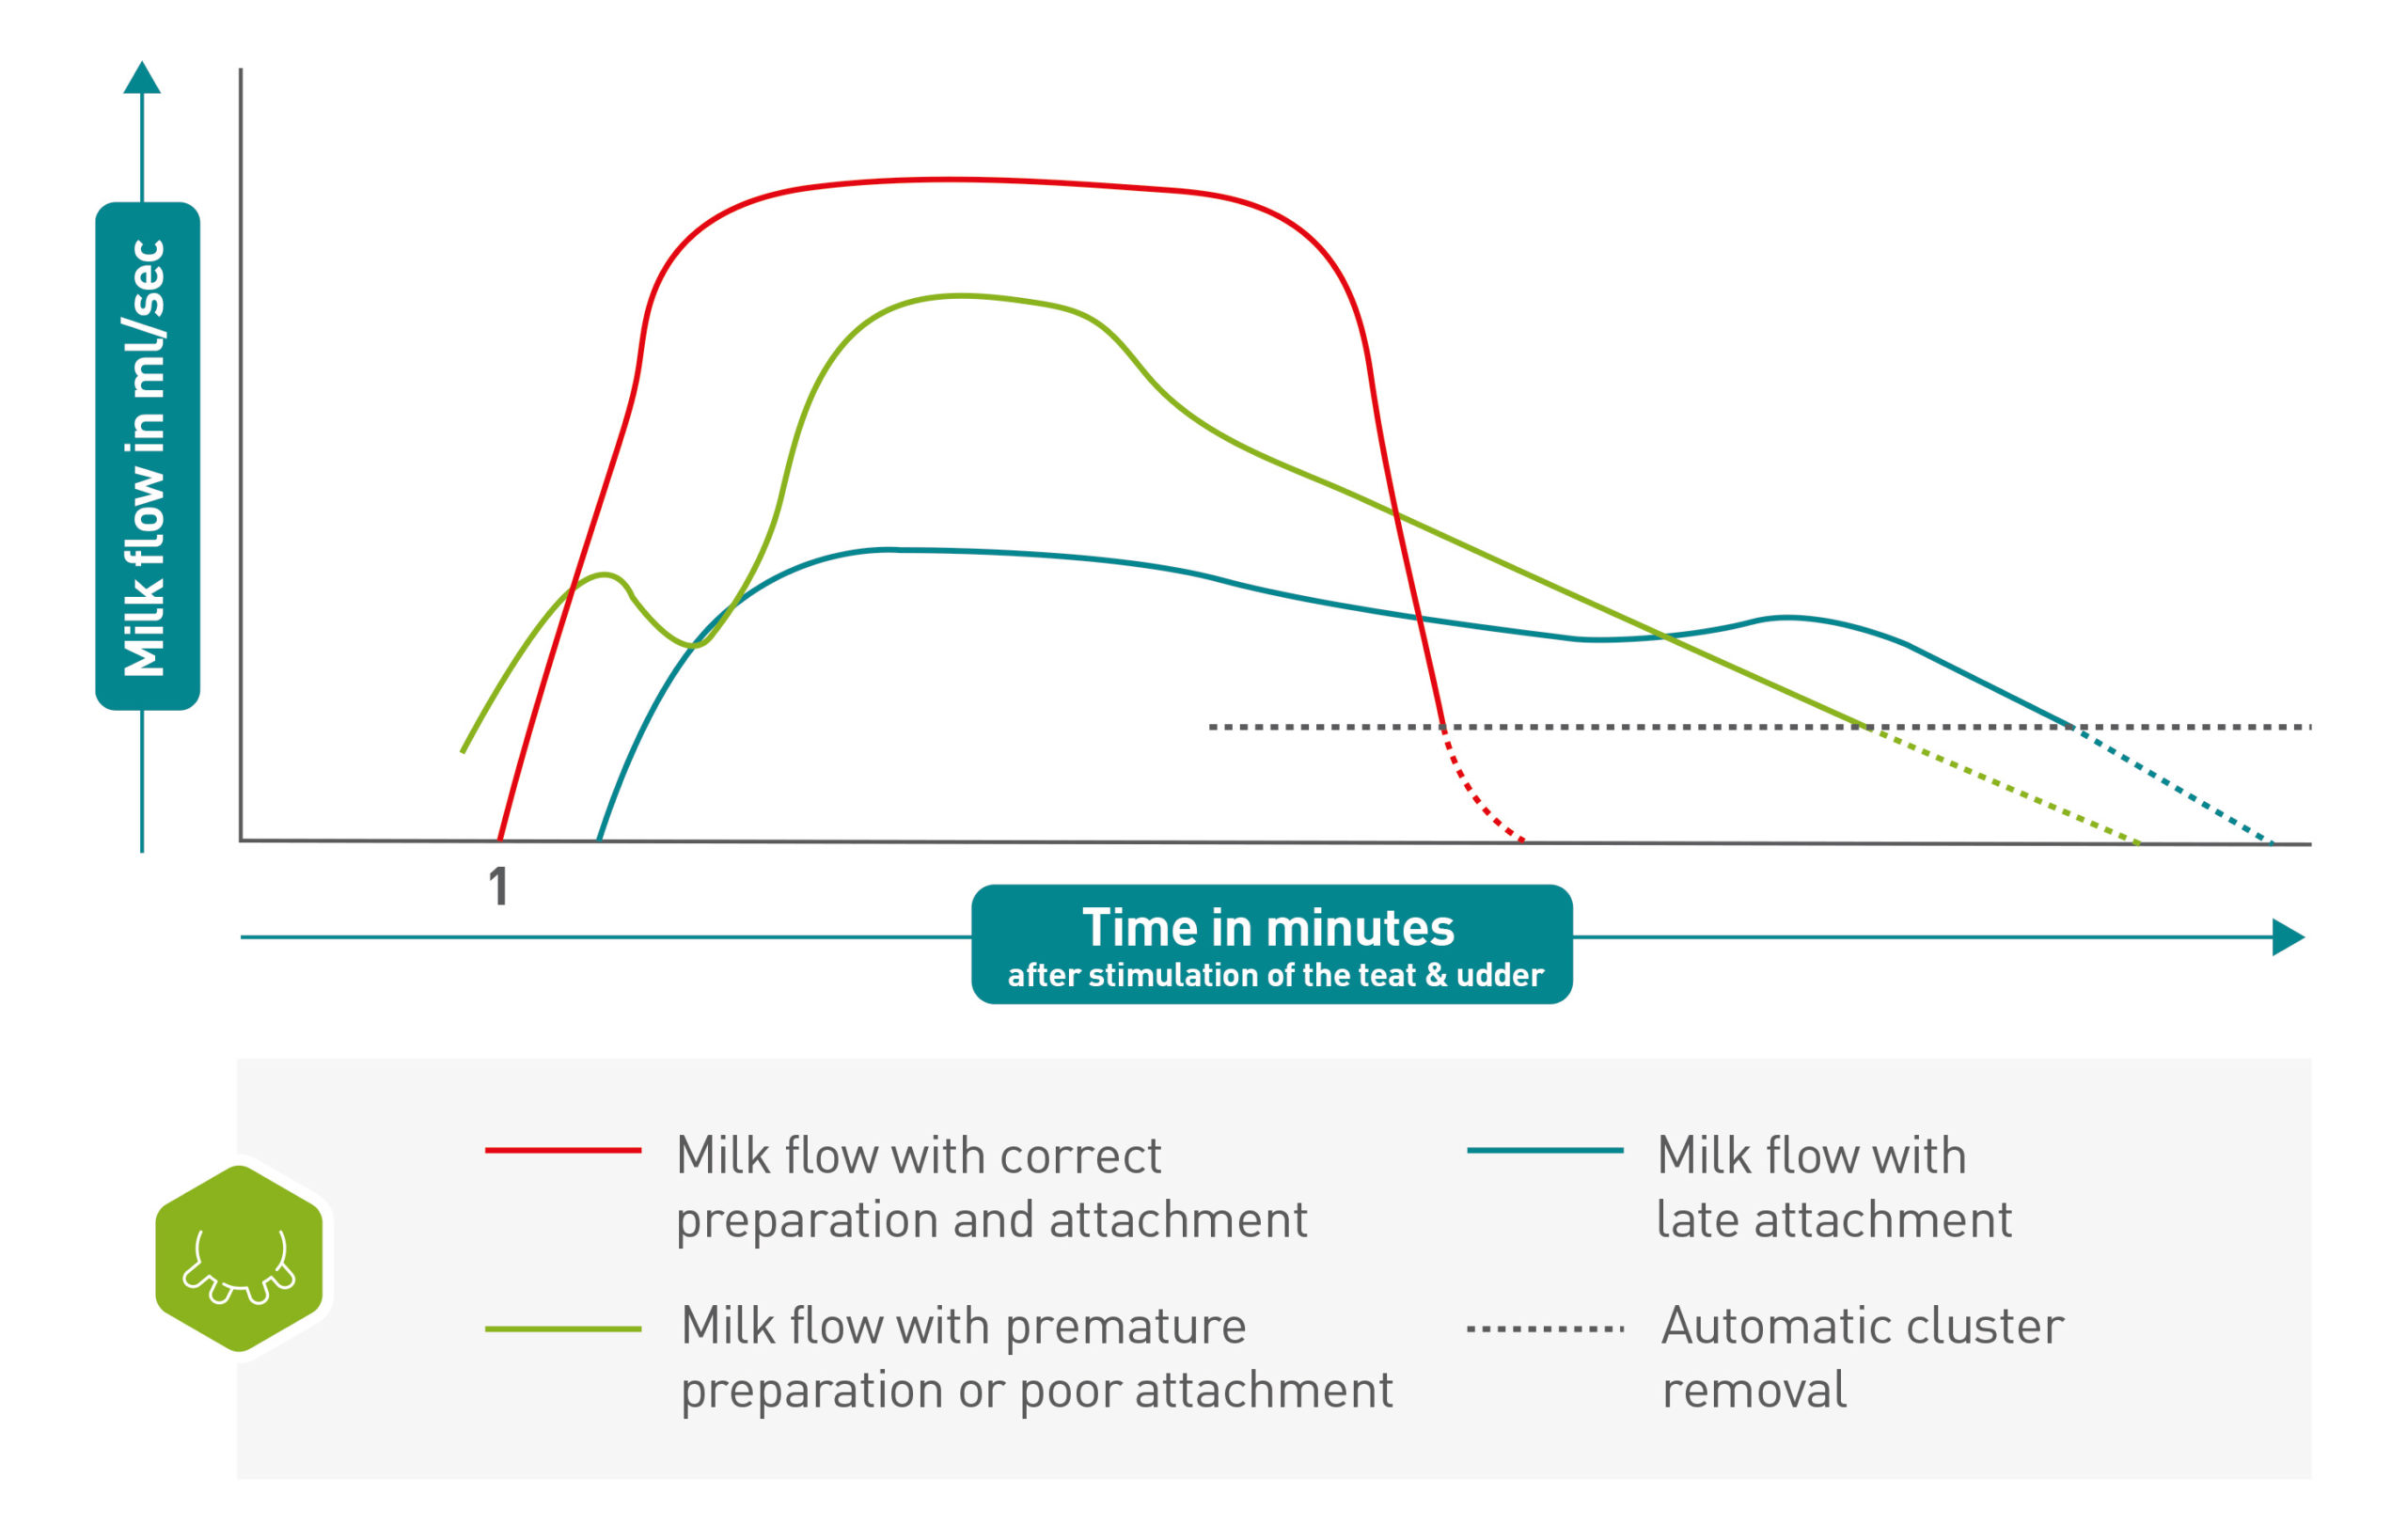
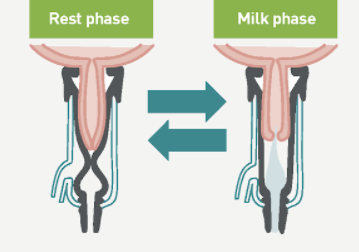
Manipulation of the teat by stripping the foremilk and cleaning will cause an oxytocin release from the brain, which will eventually lead to a contraction of milk alveoli: the milk let-down. As it takes 60 to 90 seconds before the hormone reaches the udder, well-timed attachment of the cluster will induce a good milk flow, with 50% of the milk yielded in the first 2 minutes.
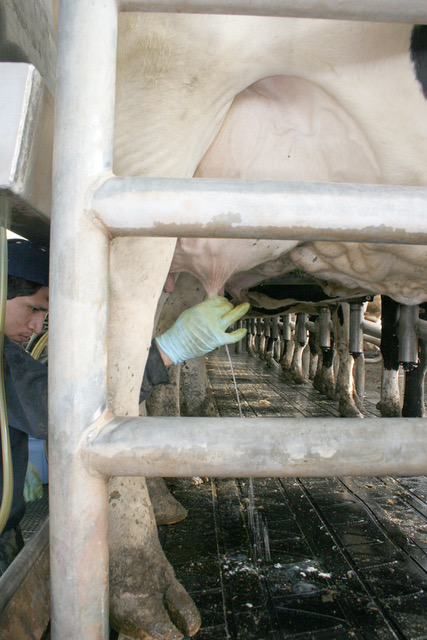
Teat ends should be pre-dipped, then foremilk should be stripped out. Then the teat ends should be spotlessly cleaned and dried with a single-use paper or cloth towel. Teats and udder should be massaged for at least 15 seconds.
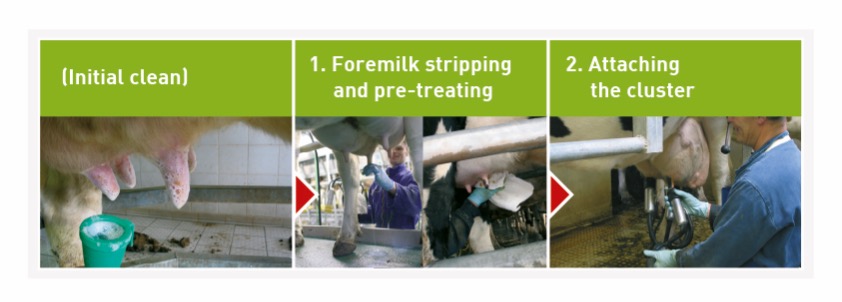 By observing this 60-second rule, milk let-down from the alveoli and emptying of the milk in the cisterns will seamlessly flow into each other. The udder will be milked out faster, in a shorter time, reducing the risk of damage to the teat sphincter and of mastitis.
Attaching the cluster at the right time will reduce pressure on the teat and reduces milking time.
The 60-second-rule can be used to pre-treat a number of cows in a row, then return to the first cow and start attaching the clusters in the same order. Make sure hands are clean for every cow!
Poor preparation or disrupted oxytocin release will cause a bi-modal milk flow. Once free milk in the udder cisterns is milked out, milk flow is reduced. After a short moment, the flow will resume, driven by oxytocin triggered by the milking process. This results in a period of blind milking during which the teat ends undergo high negative pressure. It will also lead to more residual milk after cluster take off. As blind milking is uncomfortable for cows, they may try to kick off the cluster.
- What to do if things go wrong in the parlour
- How to score teat ends & what the lesions mean: https://ahdb.org.uk/knowledge-library/improving-dairy-cow-defences-to-environmental-mastitis-in-lactation
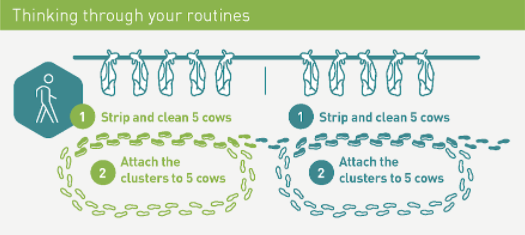
For example, this farm has worked out the ideal milking routine and defined it clearly in a useful diagram. They use it to keep each other on the ball. It is displayed in or near the milking parlour.A good position of the cluster and correct tension on the teat cup ensures that the cow milks out evenly. Tube guides will help ensure a correct position. If all is well, cows will be calm.
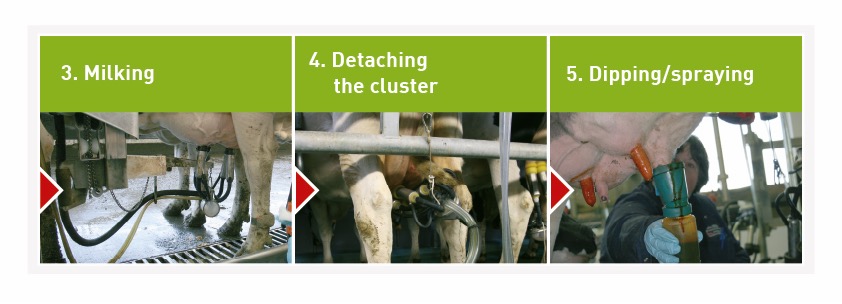
For optimal teat health and milk yield, clusters should be detached when milk flow falls below 0.5 l/min. Automatic cluster removal will help prevent overmilking. Once milk flow drops below a predetermined level, the cluster is removed, preventing unnecessary pressure on the udder. Settings for automatic cluster removal should be done by a specialist.
When detaching the cluster manually, first switch off cluster vacuum, then gently remove the cluster. This can be done while letting in some air. The teats and udder should be examined after milking.
- How to score teat ends & what the lesions mean: https://ahdb.org.uk/knowledge-library/improving-dairy-cow-defences-to-environmental-mastitis-in-lactation
Milking puts a lot of strain on the teat and can cause the teat wall and tip to swell slightly. Teats need around eight hours to return to normal. A good milking machine and technique will leave the teats soft, dry, pink and pain-free when they come out of the teat cup.
Good operating procedures in the parlour
Foremilk stripping will clear out the first high-cell and germ-rich milk located in the lower udder cisterns and teat so that it doesn’t end up in the tank. Stripping will also stimulate the milk let down.
Fore milking also allows early detection of new mastitis cases. It is therefore important to do this in a hygienic manner, e.g., in a dedicated strip cup with a built-in mesh to detect clots of milk or blood.
Cows with abnormal milk must be clearly identified, and all milkers should know how to handle such cows.
Cows with high cell counts and cows with clinical mastitis carry mastitis pathogens in their milk and are a risk for other cows. Good milking protocols should reduce this risk. After milking such cows, the cluster should be disinfected to kill any remaining bacteria. This can be done with hot water (> 80 °C).
- See What to do if things go wrong in the parlour
Good operating procedures for interruptions
As cows are easily stressed by any disruption in the milking routine, they should not be worried if something happens that requires the milker’s attention. Milkers should all know how to deal with an interruption – whether it is, a cluster that is kicked off, a squeaking teat cup or a cow with abnormal milk – and continue the milking routine calmly and efficiently.
Once all clusters are attached, the milker can address the problem at hand and resolve it.
- See What to do if things go wrong in the parlour
Feedback from milkers
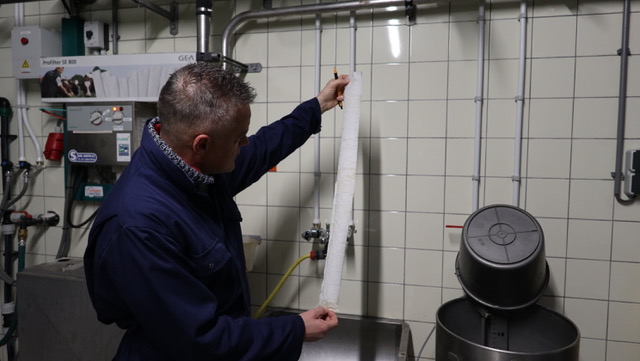
After milking, milkers should routinely check filters. A clean filter is a sign of a milker with an eye for detail. If a cow with clinical mastitis has been overlooked, the filter will be covered with clots. If filters are dirty, this means milkers require more training.
If a milker wears glasses for reading, they should wear them for milking, otherwise, they are likely to miss those small clots.
Another valuable source of feedback for milkers is the milk report from the milking machine. The percentage of milk in the first two minutes is the most important performance indicator. This should be 50% or more.
Milkers should be informed of milk production and udder health on at least a weekly basis. The farmer should provide feedback to the milkers about the milking results (milk yield per cow, milk hygiene, udder health, milking tiles) which are the result of their work.
- See Reading a milk report: key indicators and red flags
Did you know?
If cows are milked well, 50% of udder health is under control. It’s therefore no surprise that a good milker has 25% less mastitis and 15% shorter milking time than an average milker.
The three pillars of successful milking are:
- clean and comfortable cows
- excellent milking routines
- milking equipment in first-rate working order